I decided to design a lined tote bag in a few sizes that would be inexpensive and customizable. I’ve made this into a downloadable PDF for your convenience. If you decide to make an adjustable strap, check out the guide from AppleGreen Cottage. I also linked their patch pockets guide which inspired the pockets I used for my bag.
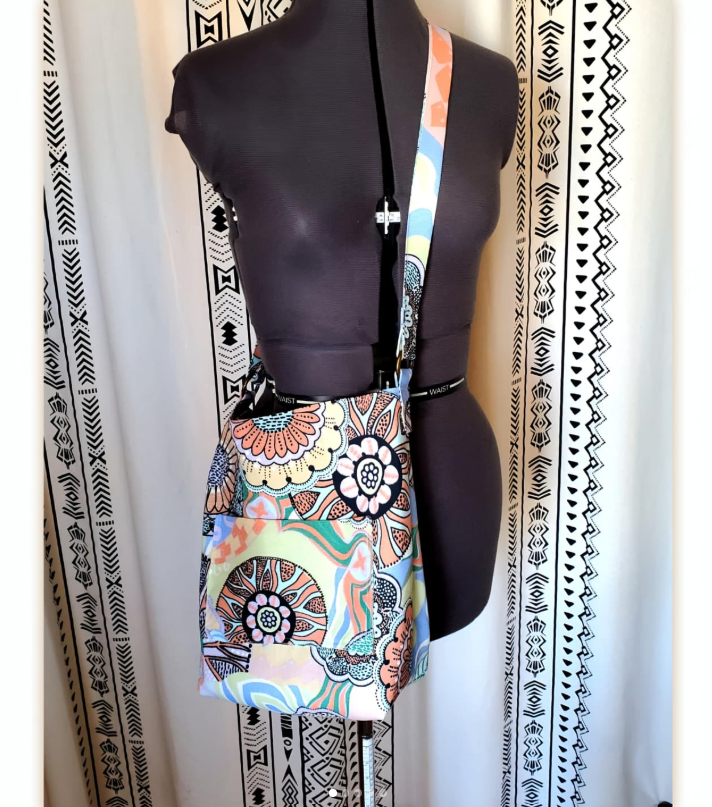
Dimensions are for the large tote bag.
Ingredients
Bag Body
- (2) interior fabric 15” x 16.5”
- (2) exterior fabric 15” x 16.5”
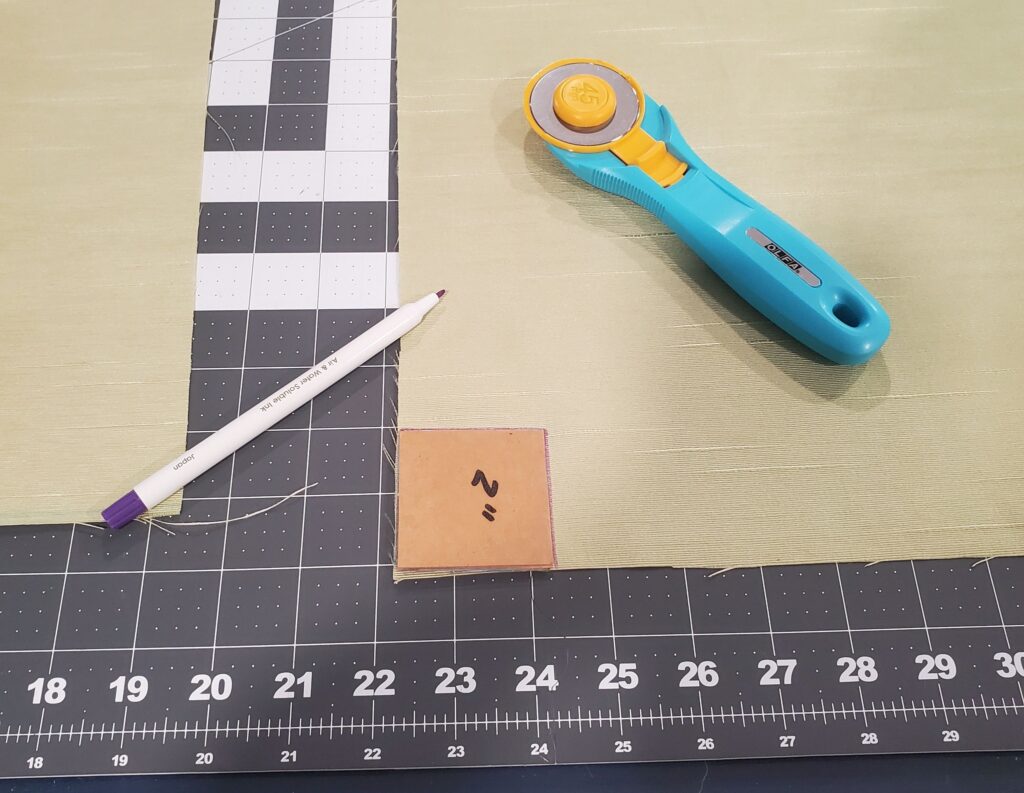
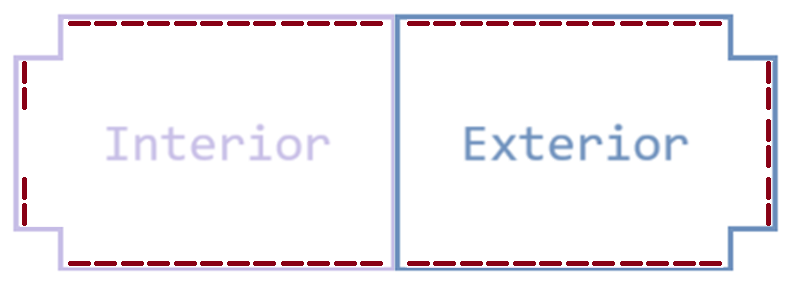
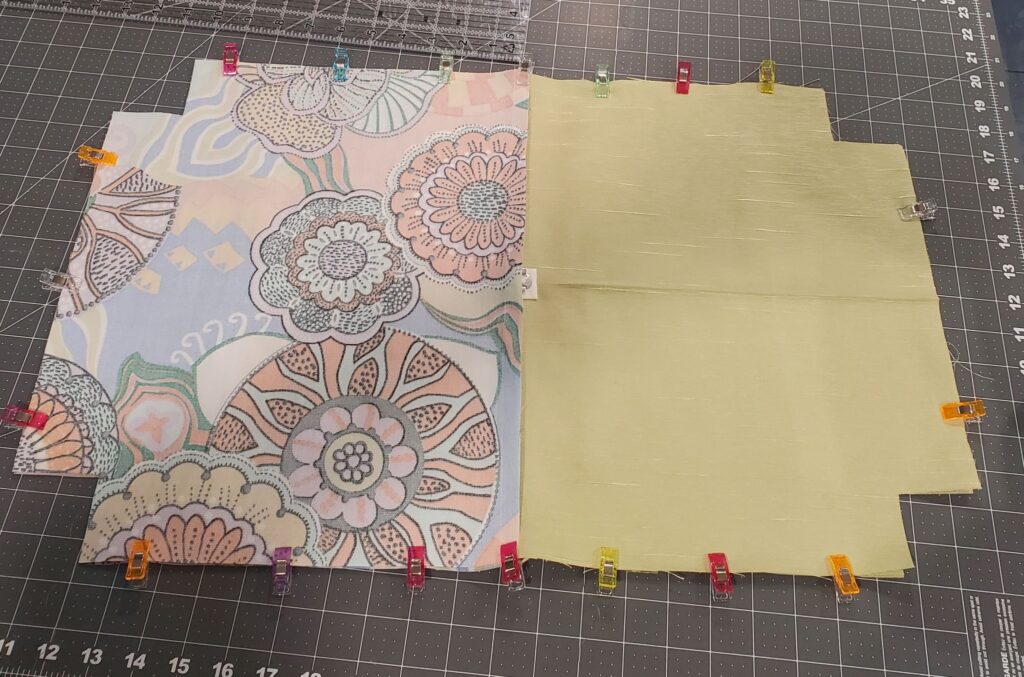
- Cut out a 2” square from the corners on one of the short sides of each of these fabric cuts (see layout below)
Straps & Loops
- (1) strap fabric 36”-40” x 4”
- (2) loop fabric 7” x 4”
- (1) adjustable slider 1”
- (2) o-ring round carabiners 1”
Optional Additions
Interior & Exterior Pockets
- (2) interior fabric 8” x 11”
- (2) exterior fabric 8” x 11”
- (2) exterior fabric 7” x 10”
Magnetic Closure
- (2) small pieces of fusible fabric stabilizer (aka interfacing)
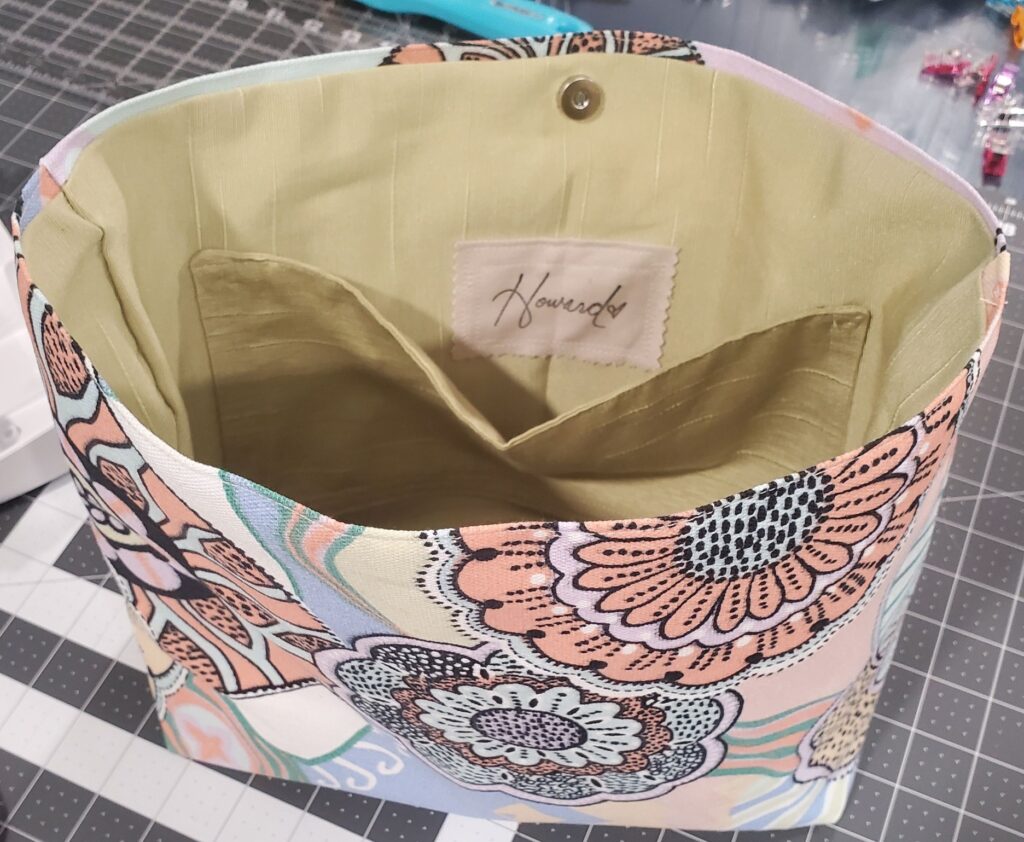
- (1) magnetic snap for the upper interior
Inner Tag
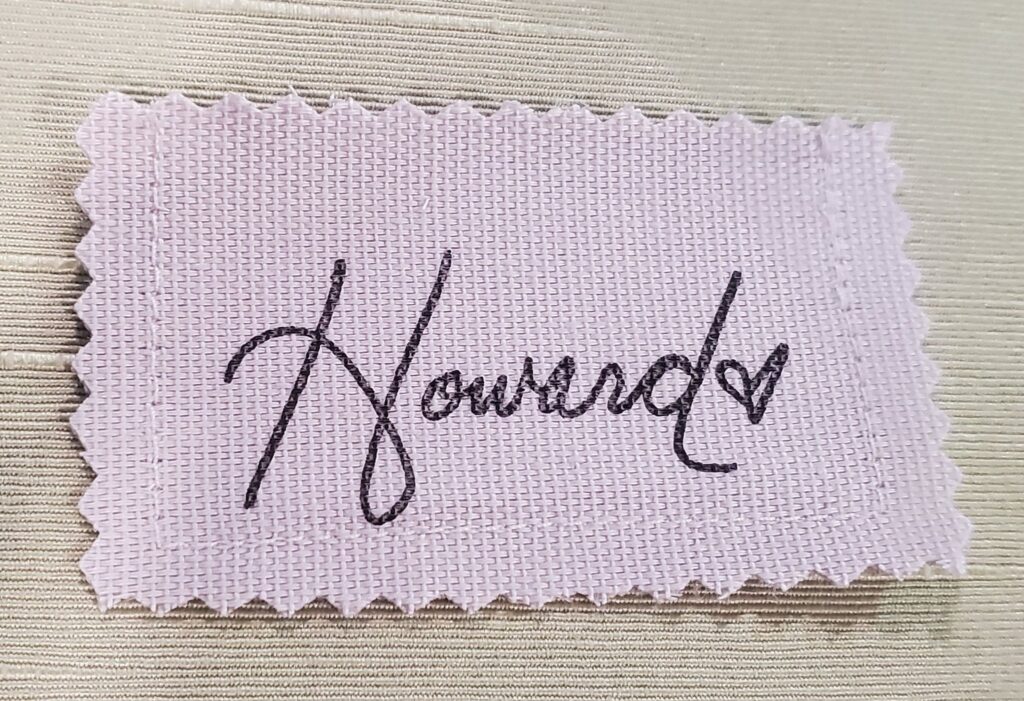
I used a light beige cotton canvas scrap stamped with my custom name stamp and fabric ink; I sewed a stitch around the edge of the to-be tag and finished the edges with pinking shears.
- scrap fabric square 3”-4”
- fabric ink, stamp, and/or pen
Instructions
I used a stiffer, exterior fabric that did not require a fusible fabric stabilizer in between the layers. I also prefer a somewhat slouchier bag. I’d recommend using at least a cotton canvas fabric so that the bag maintains some level of shape. You can also add an inner layer of cotton canvas treated or untreated with stiffy. You can add as many pockets as desired.
Layout
If it’s your first time attempting this kind of project, start by laying out the bag body pieces to find your inner and outer fabrics and make the placement of any chosen accessories easy. Lay all the fabrics with the wrong side facing you.

Strap & Loops
- Fold in half, wrong sides facing each other, and iron each set of strap and loop fabrics. Unfold and fold each side into the half line, creating folded quarters. Fold along the original half-fold and iron. You will end up with a 1” piece of fabric.
- Sew along all edges of the loop and strap fabrics. Fold the ends over themselves at ½” and stitch along the top to secure.
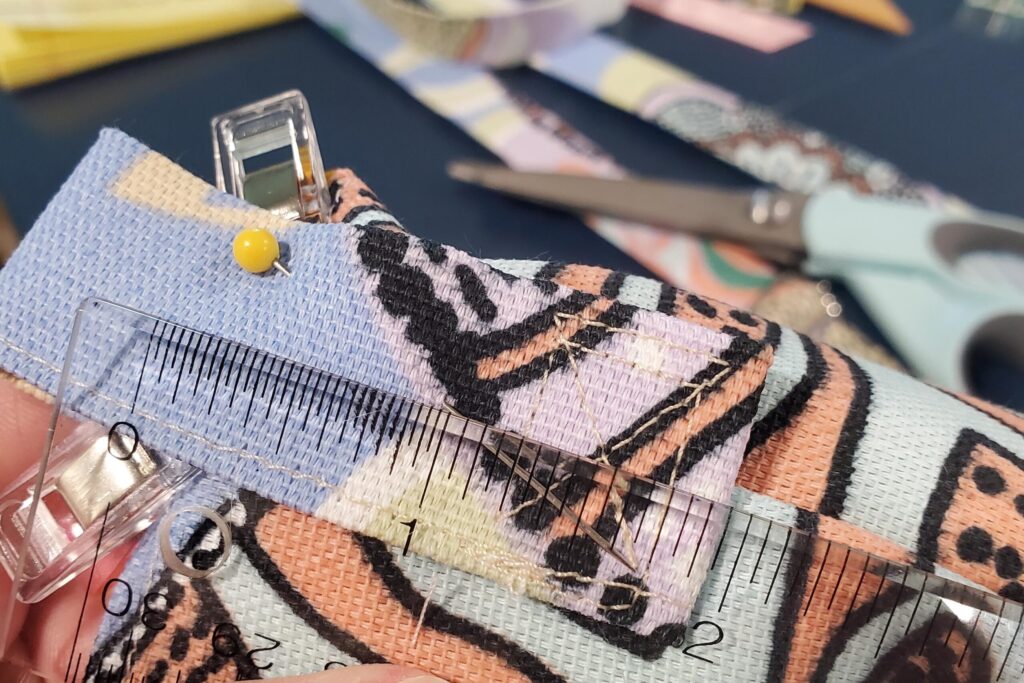
- The image shows a boxed x sewing pattern, but this is not necessary at this point.
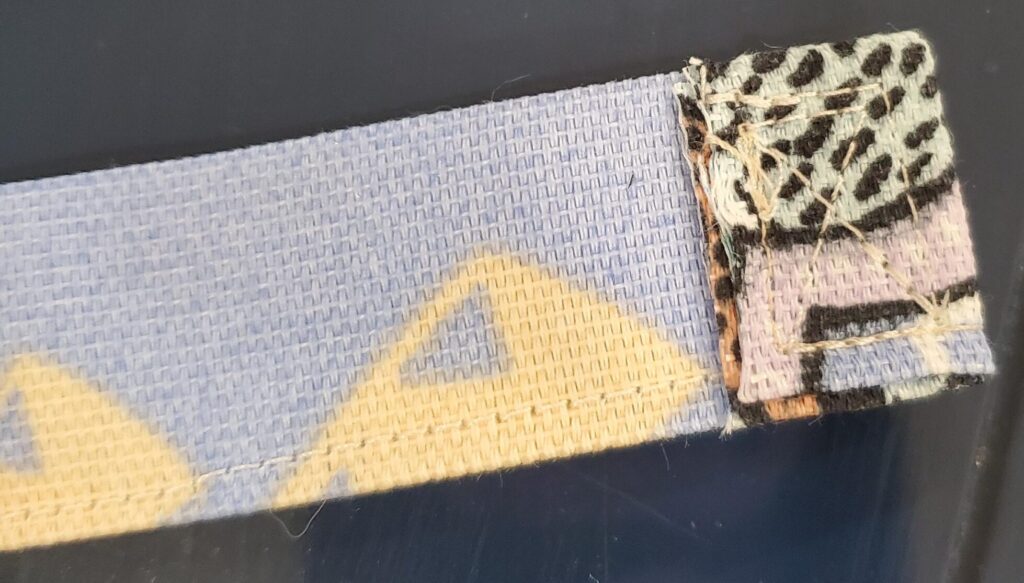
- Insert one end of the strap into the adjustable hardware. Loop the fabric around the middle bar and onto itself. Stitch a boxed x pattern to secure the loop.
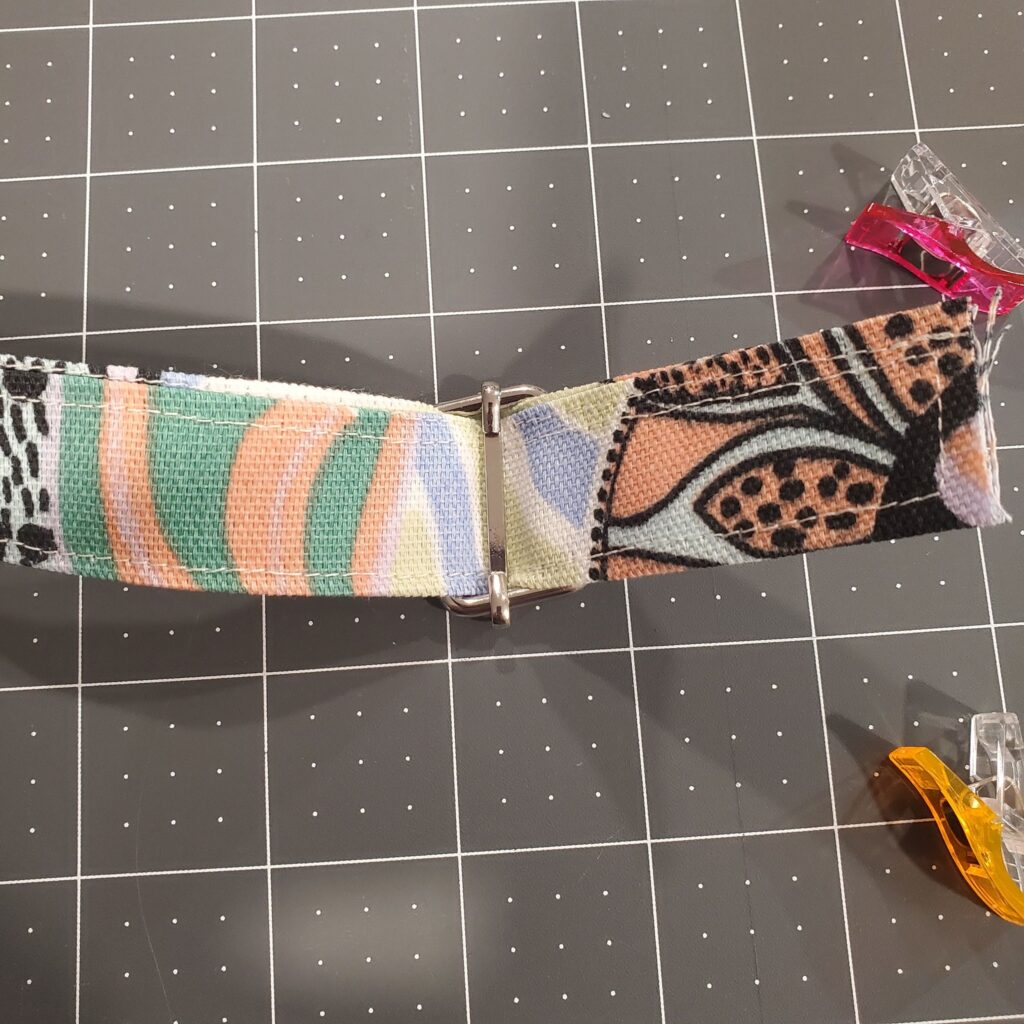
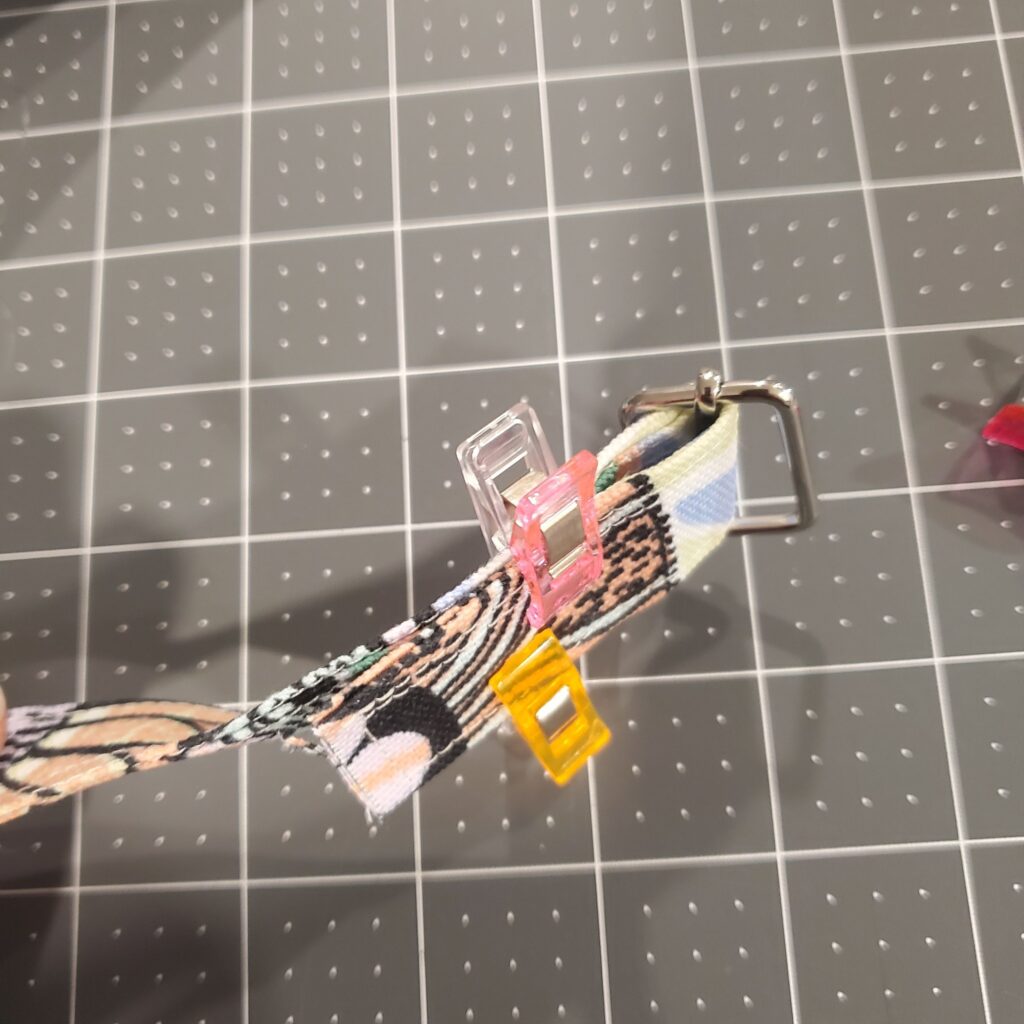
- For the other end of the strap, loop it through the adjustable hardware. Sew a loop at the very end to allow room for the carabiner (~1” or so).
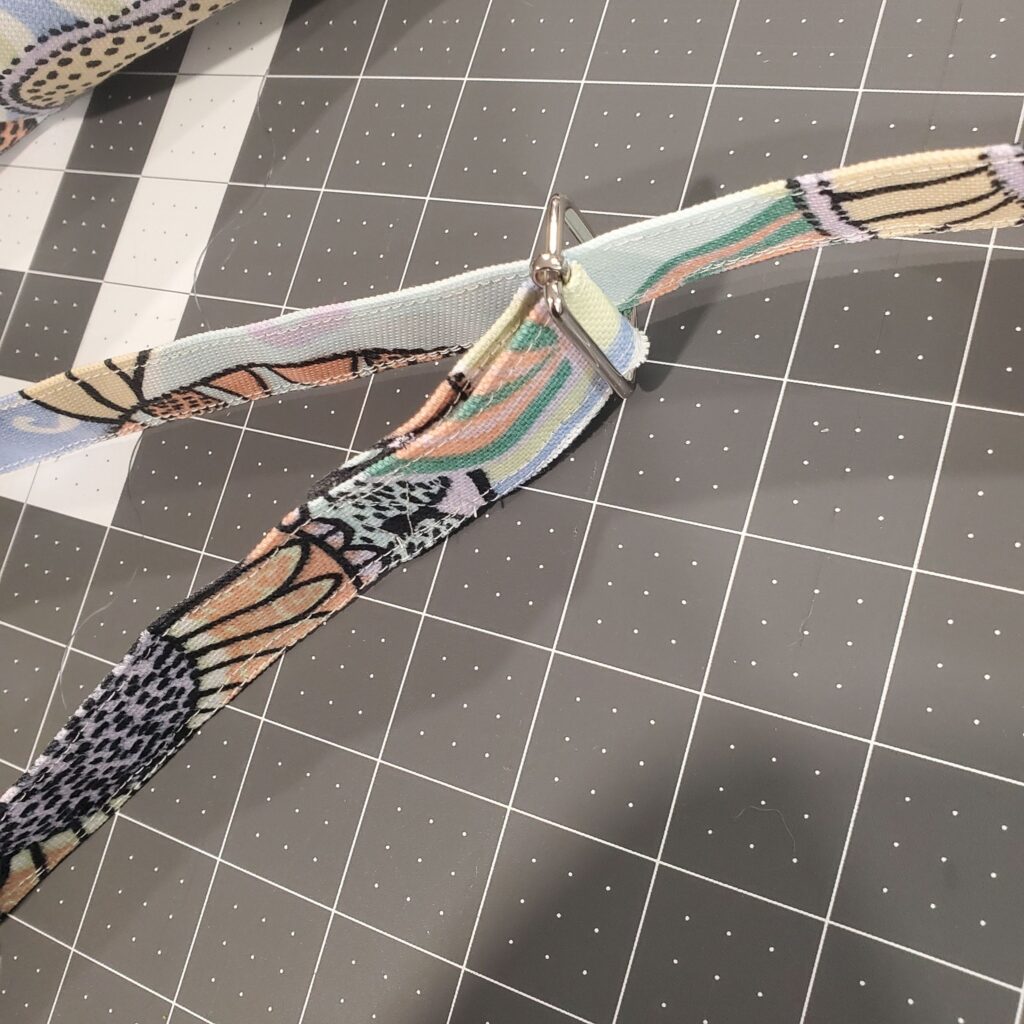
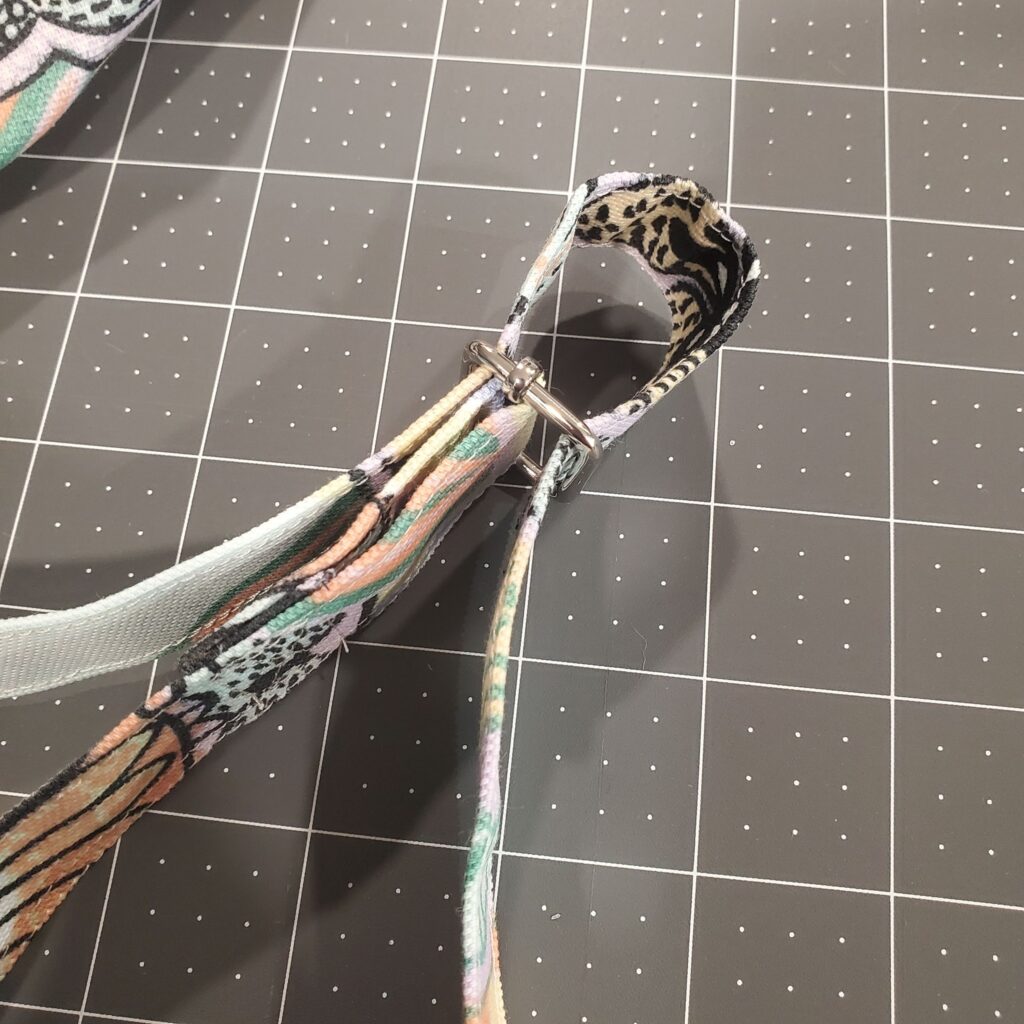
Pockets
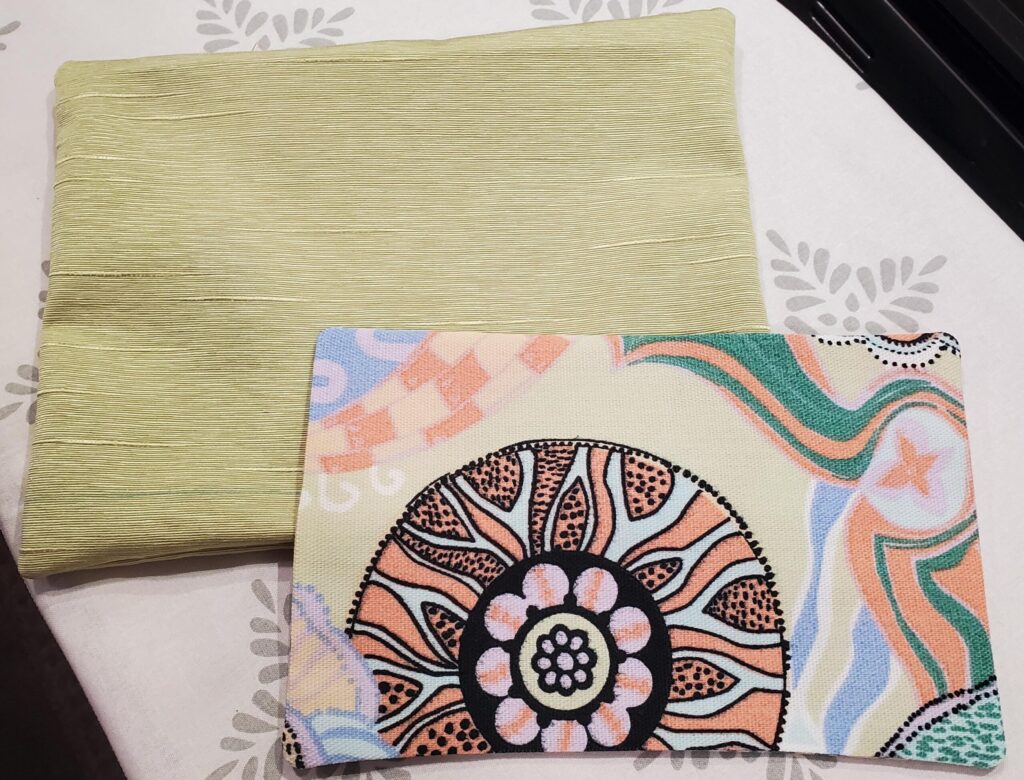
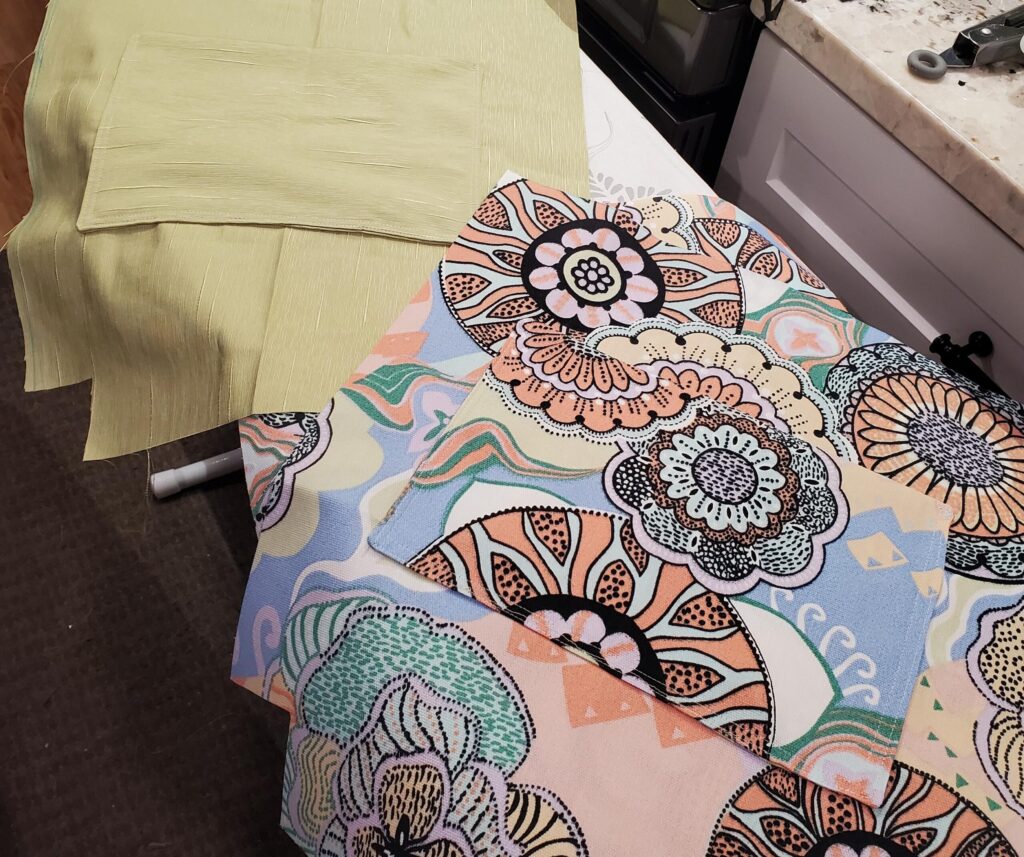
- Take each set of pocket fabrics and line them up right sides facing each other. Stitch around the edges to close them, but leave at least 3” open on one of the long sides. This will become the bottom edge.
- Invert the pocket via the open side and use a chopstick to ensure the edges are sharply pointed. Iron the pocket.
- Pin the pockets to the matching bag fabrics on the right sides of the bag fabric. Face the intended open end of the pocket at the top of the bag fabric (the end without the corners cut out). I placed mine in the center and 4 to 5 inches from the bottom.
- Stitch the pockets into place along 3 sides leaving the top open.
Magnetic Closure
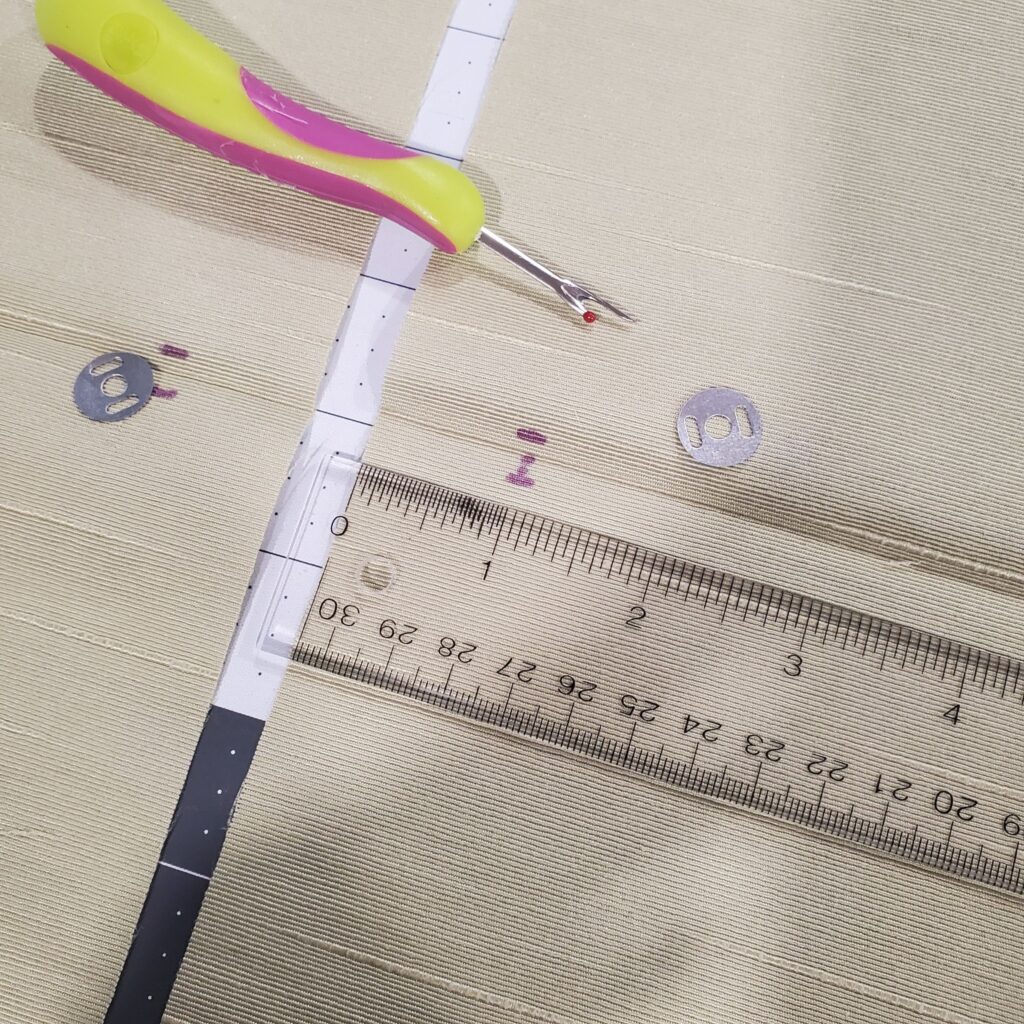
- Mark the placement of the slits for the magnetic closure on the right side of the inner fabric.
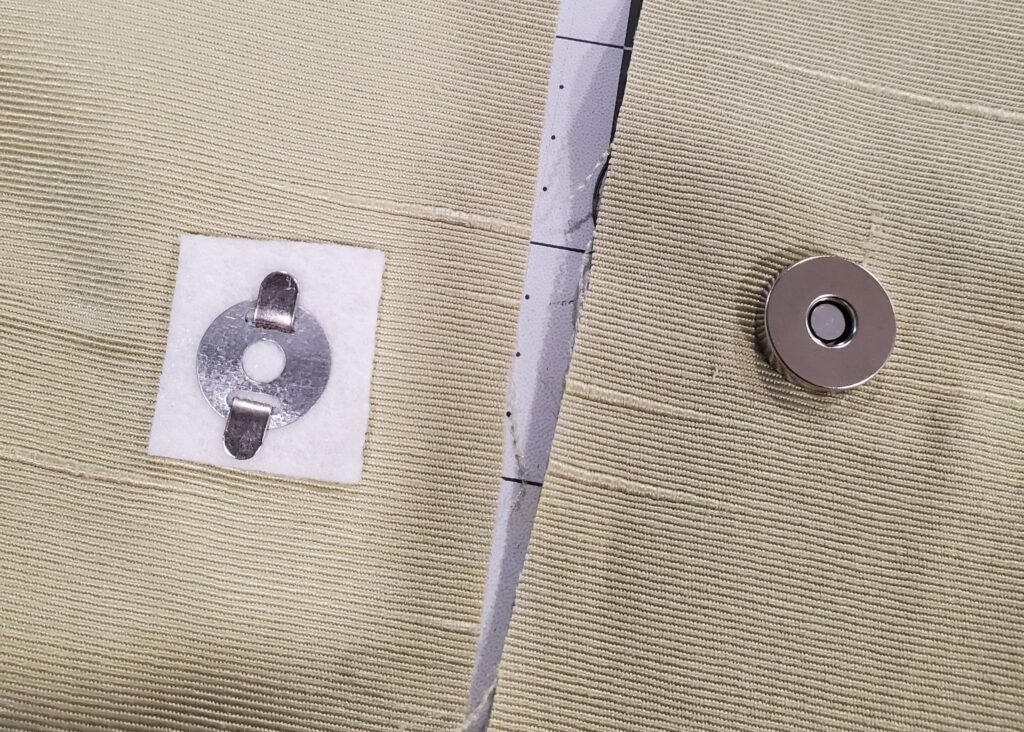
- I recommend using a small piece of stabilizer, and if you choose to do so, you’ll want to apply some heat to secure it. Allow it to cool for a few minutes.
- Using a seam ripper, pierce the fabric and stabilizer to allow the prongs through. Secure the prongs to the closure backing. Ensure they are aligned properly and leave a little space from the top to account for sewing allowances.
Inner Tag
- Using fabric ink or paint, mark the fabric and allow to dry. Stitch around the edges to prevent fraying. Pin the tag to the right side of the fabric you wish to display it on. I chose to add it to the inside of the inner pocket.
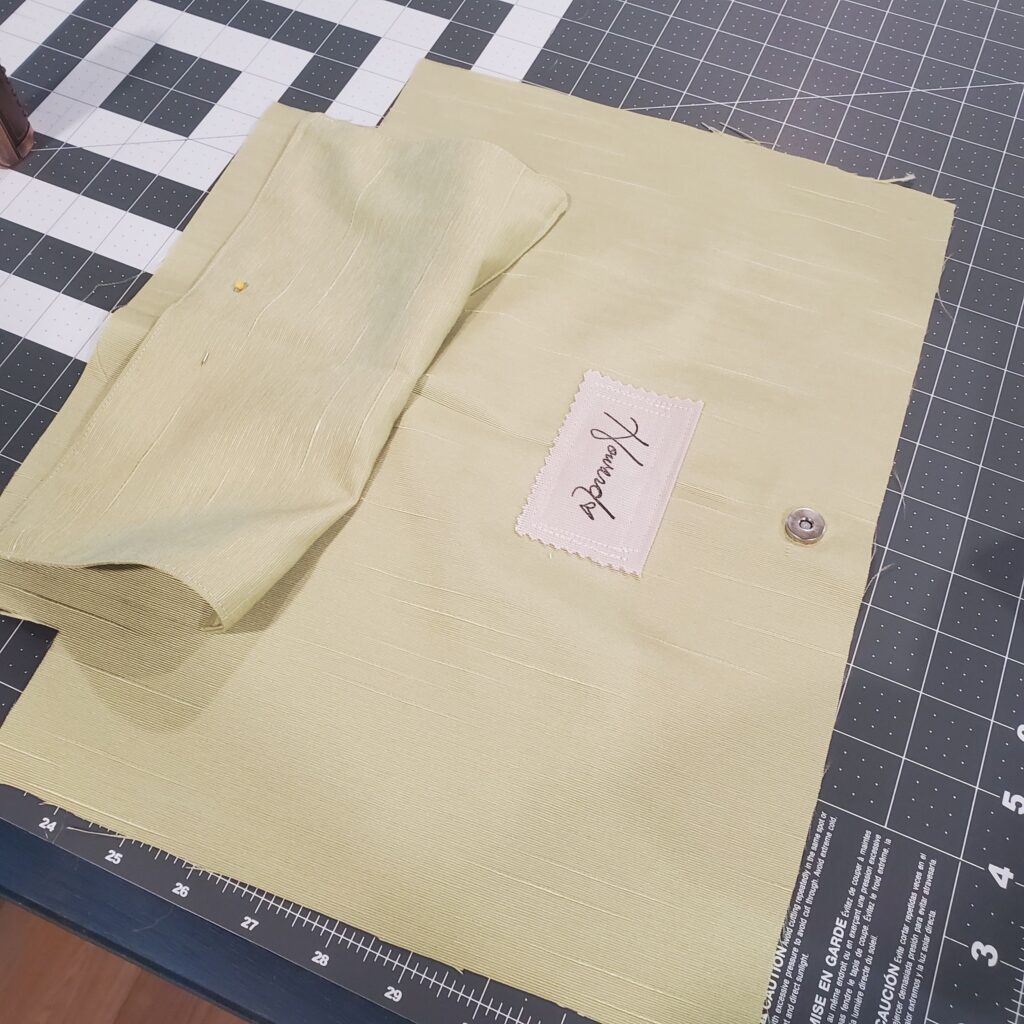
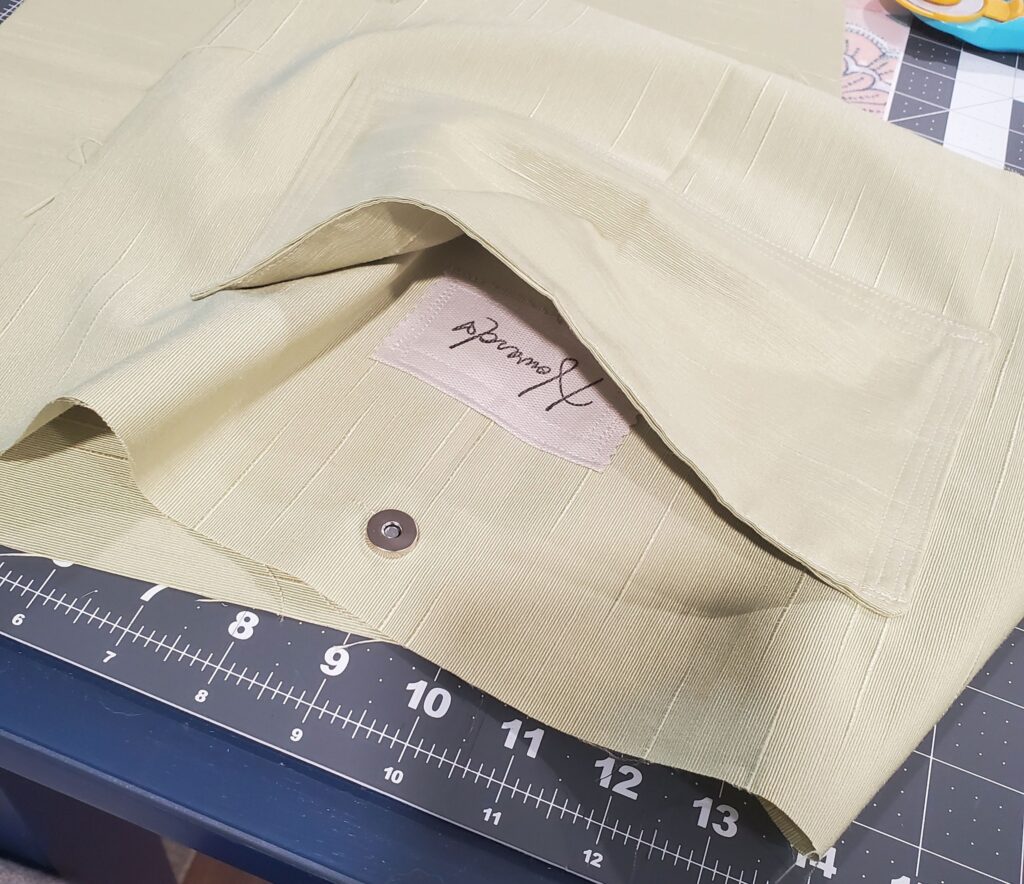
Bag Body
Once any of the pockets, magnetic closures, or tags are stitched onto their respective fabric piece, you can begin bringing the bag to life.

- Line up the first section (1) with the right sides facing each other and sew along the short edge without the notched ends. Do the same for the second section (2).
- Lay the two sections over each other with the interior and exterior right sides touching each other. Stitch the exterior short side, both long sides, and a portion of the interior short side – leaving a 3” section unstitched.
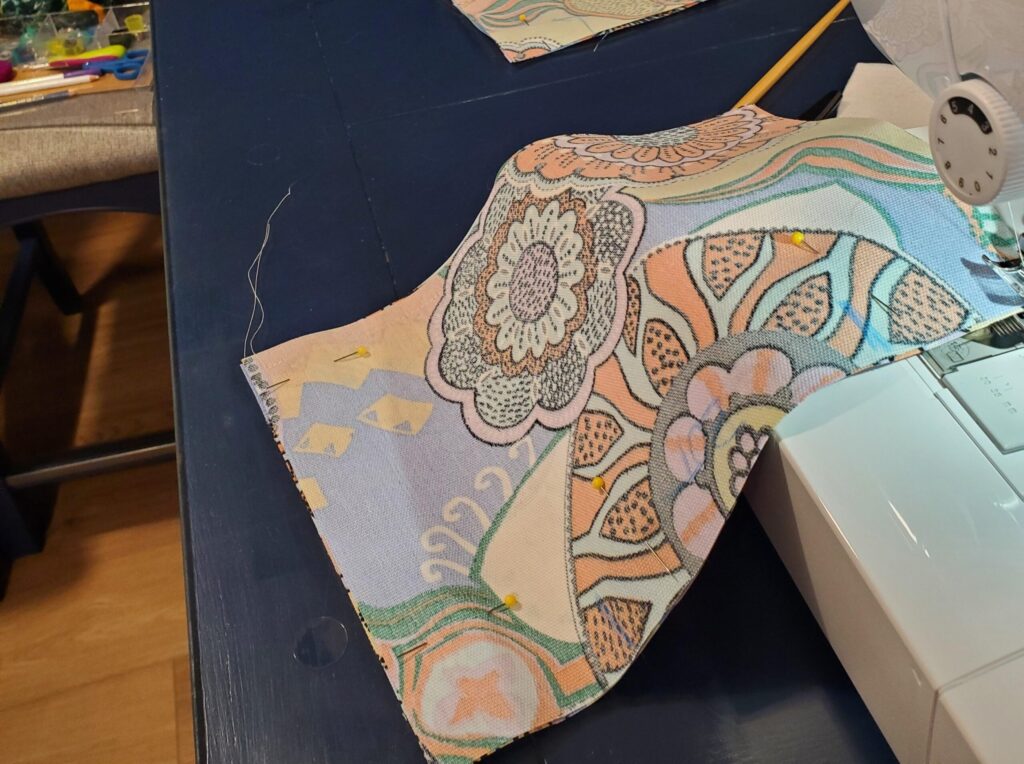
- Create boxed corners by pinching the open corner cutouts and bringing the seams together in the middle. Press with an iron. Sew the corners closed.
- Optional: Bring a ruler along the diagonal line of the seam and raise it up until it measures 4” across. Mark this line with a fabric pencil. You may use this line as the guide for sewing the corners closed to ensure uniform boxing of the bag.
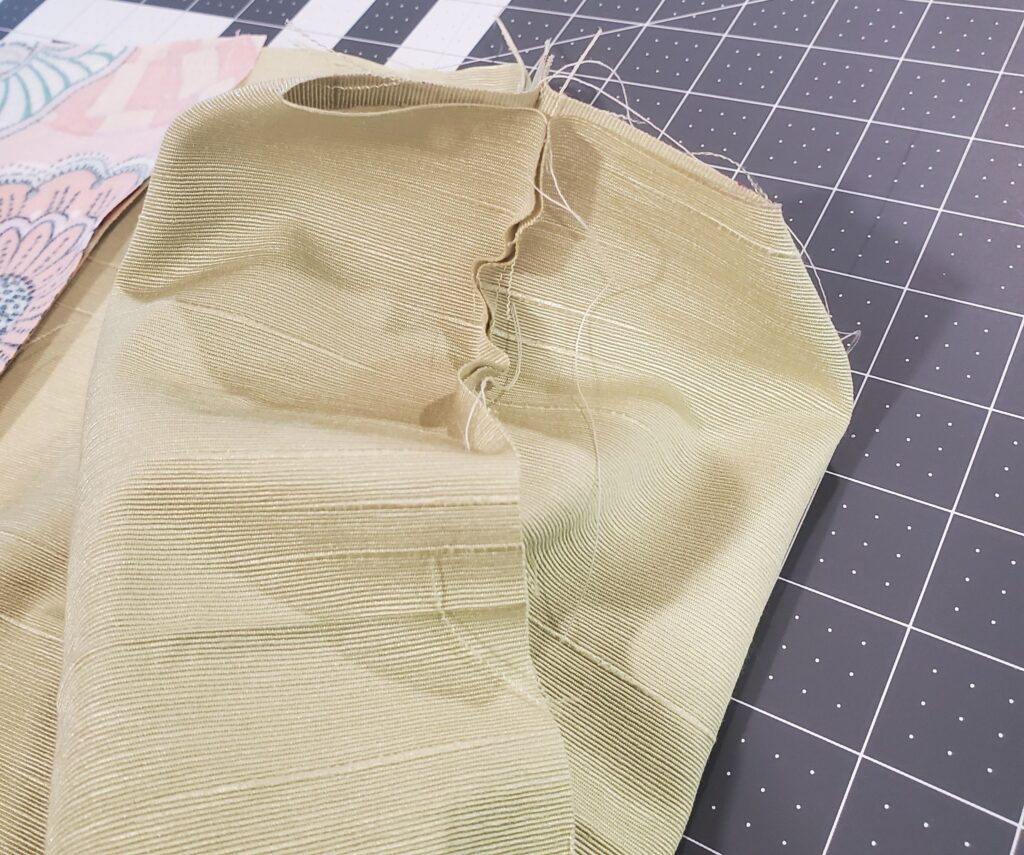
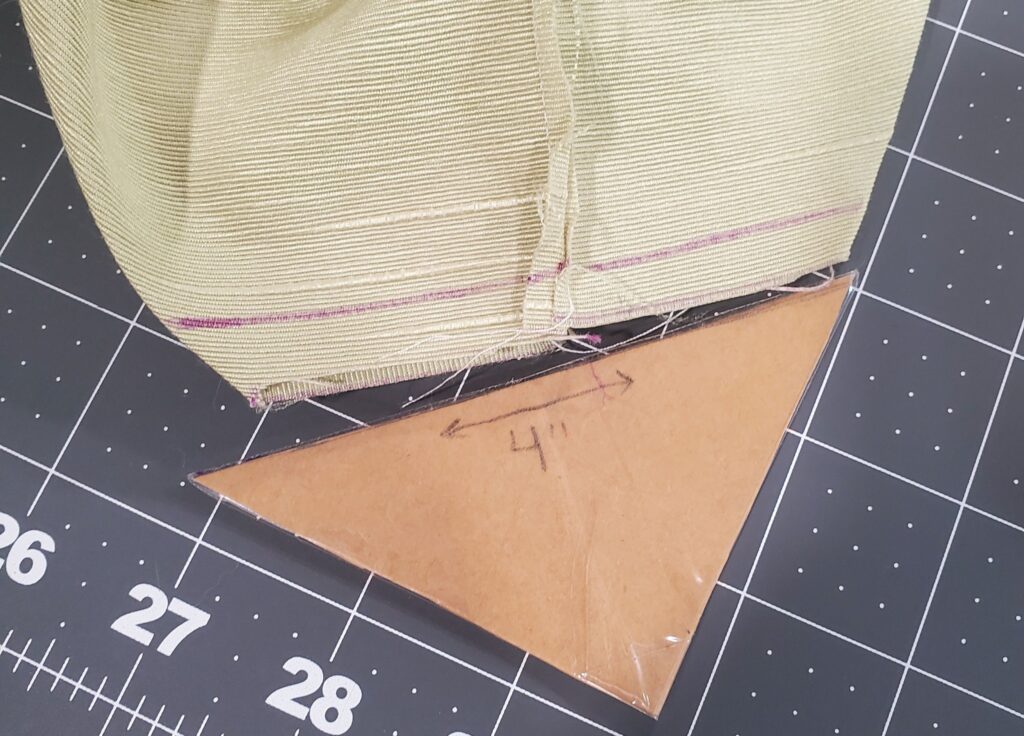
- Invert the bag through the open short end. Use a chopstick to push the edges out.

- Sew the 3” opening closed by pressing it with an iron and matching the thread as best as possible. Stuff the interior fabric into the exterior of the bag. You may choose to leave a little border on the inside of the bag like I did in this example and I stitched a line around to keep it in place.
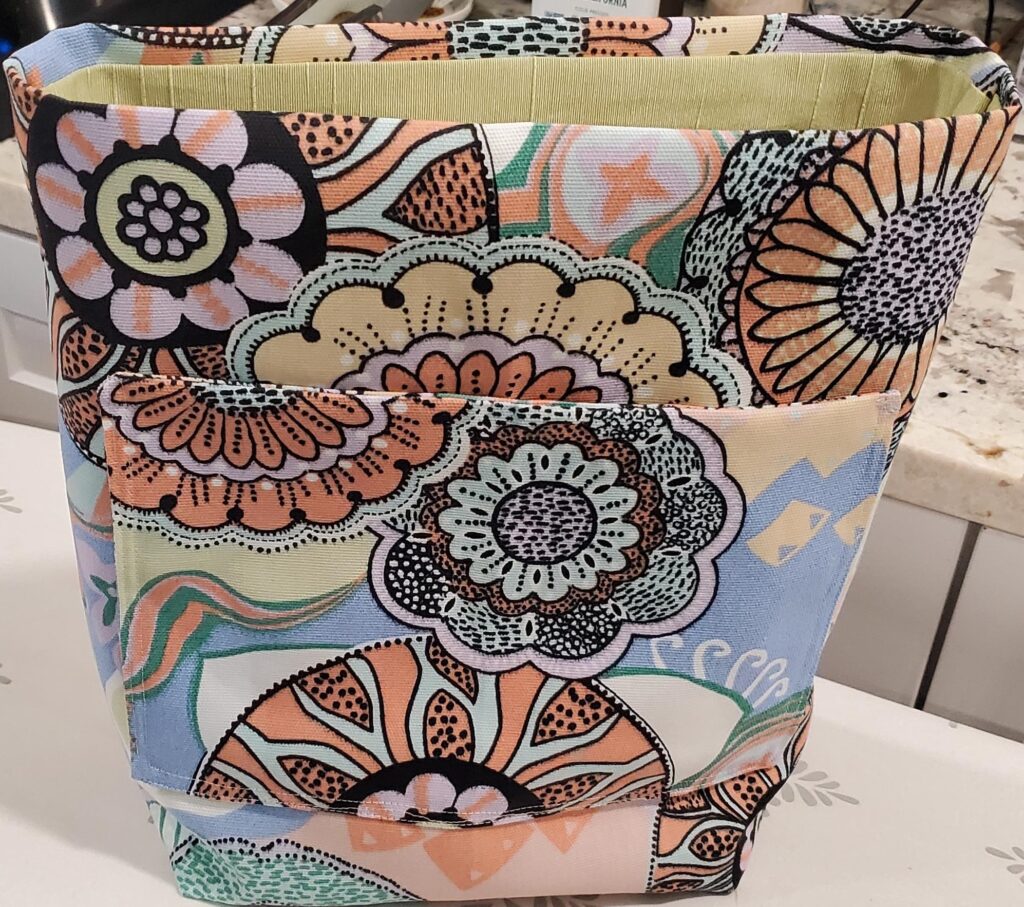

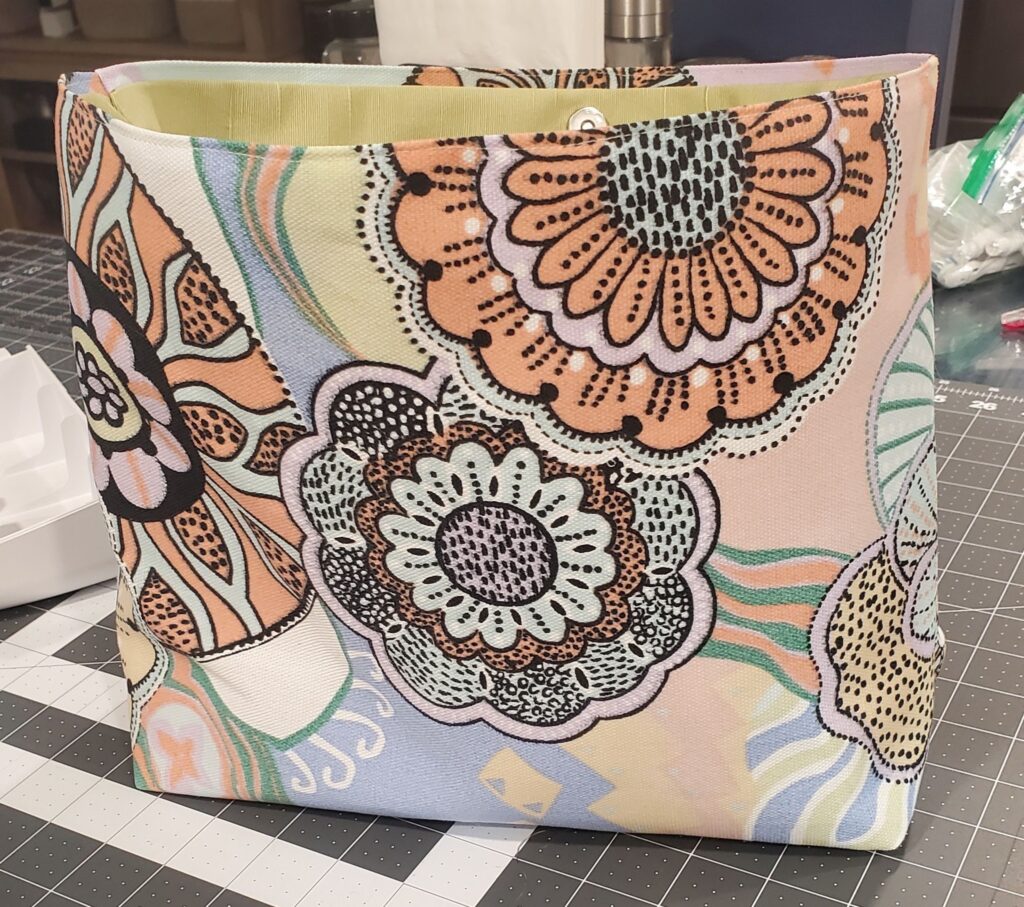
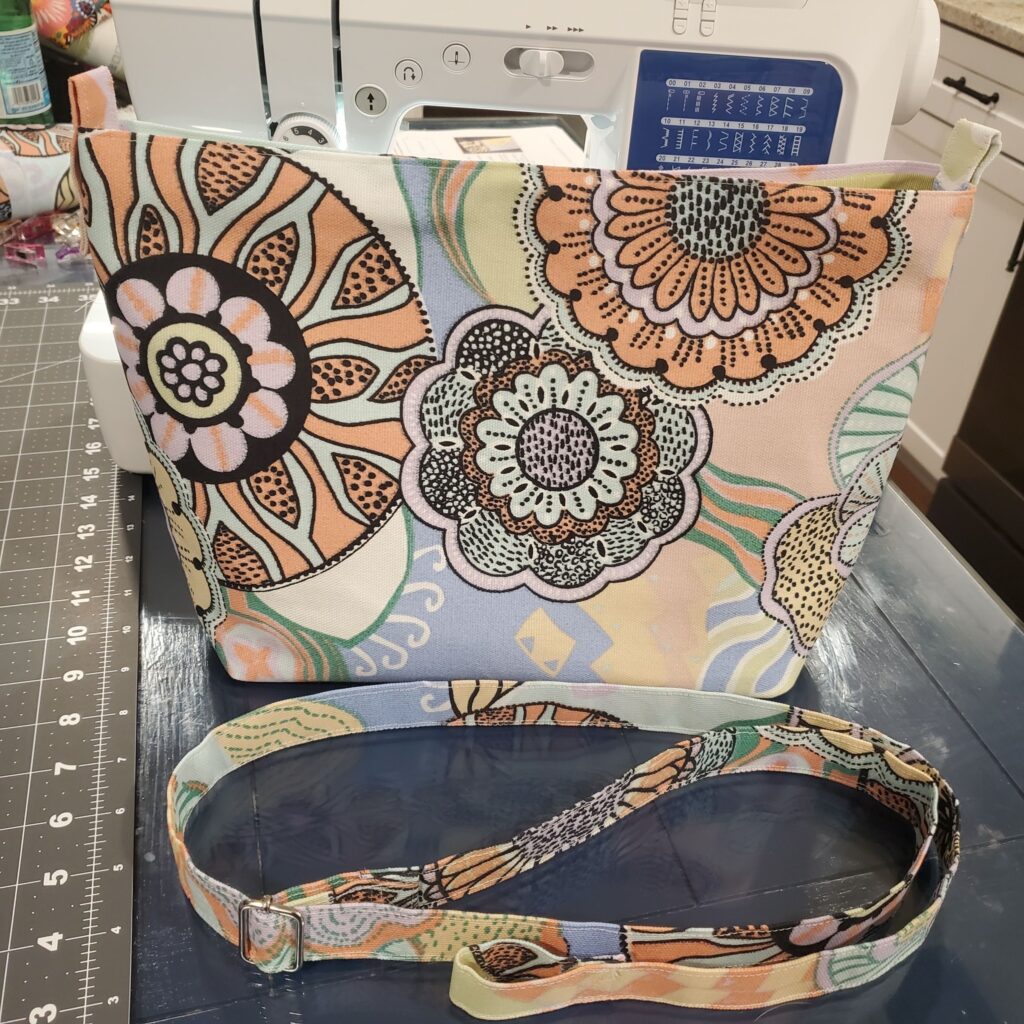
- Add the strap loops to the bag. There are some options as to the placement, but for this example, I added them to the very top and centered them over the inner seams of the sides of the bag. Placement was right under 2” down the side of the bag.
- I stitched a line across the top, blending it into the inner top stitch (of the border). I then proceeded with a boxed x pattern to secure them.
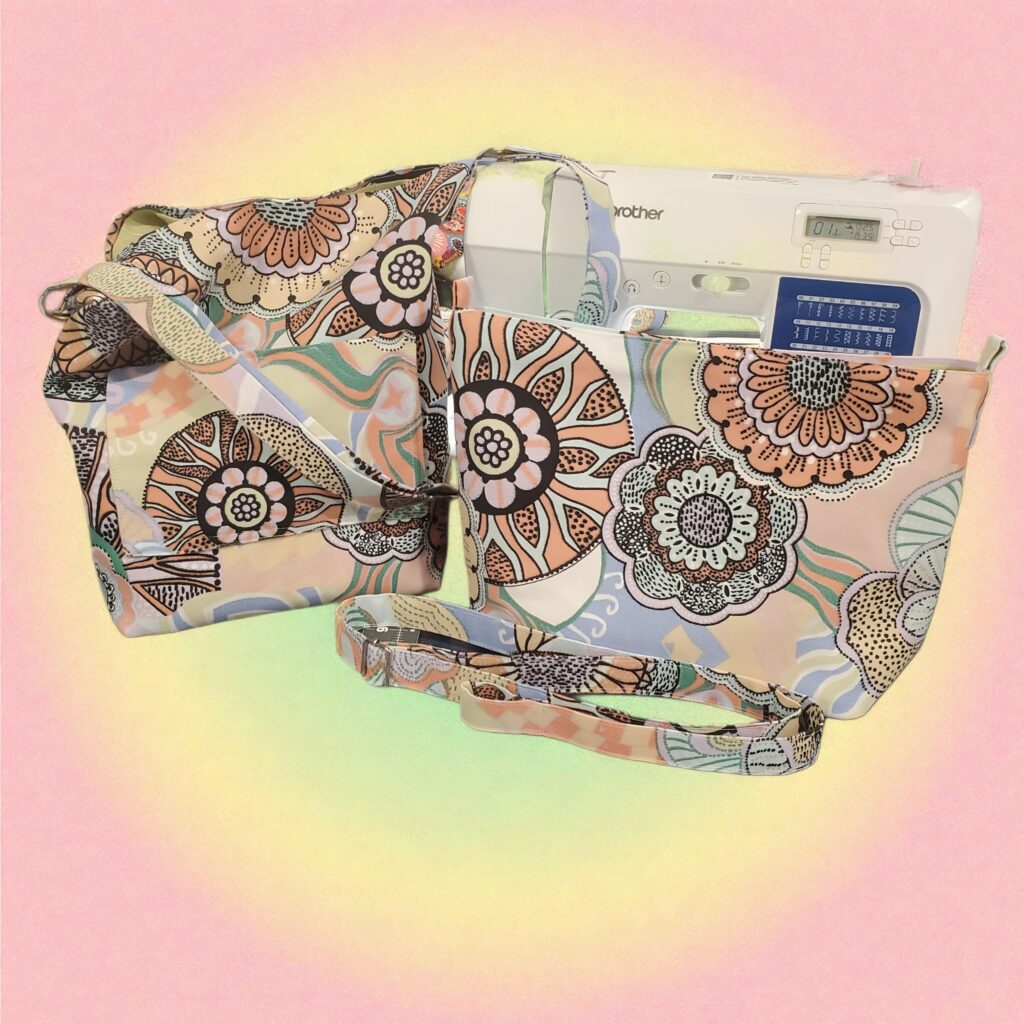
- All that is left is adding the strap with the carabiners.
Additional Sizing
Medium Lined Tote Bag
The height of the finished bag will now become the shorter side of the fabric. Placement of loops, pockets, and closures will need to be adjusted to the dimensions of the bag being sewn.
Bag Body
- (2) interior fabric 15” x 12.5”
- (2) exterior fabric 15” x 12.5”
- Cut out a 1” square from the corners on one of the short sides of each of these fabric cuts (see layout below)
Optional Additions
Interior & Exterior Pockets
- (2) interior fabric 6.5” x 11”
- (2) exterior fabric 6.5” x 11”
